









Key Takeaways
- Proper surface preparation is critical because it ensures strong adhesion and prevents cracks.
- Dry layout planning reduces errors, because it helps visualise alignment before fixing.
- Even adhesive application helps ensure durability by preventing hollow spaces beneath the stone.
- Sealing is essential for protection, because natural stone is porous and prone to stains.
- Professional installation ensures long-term quality, because precision impacts both durability and aesthetics.
This guide breaks down the complete installation process to help you achieve a flawless, long-lasting finish.
Why Proper Installation Matters
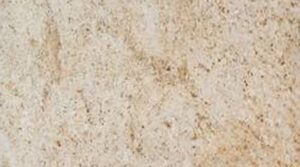
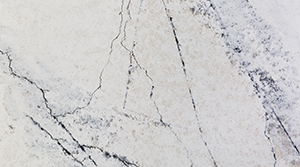
Marble and granite are natural stones that require precision.
- Prevents cracks and uneven surfaces
- Ensures long-term durability
- Enhances overall aesthetics
Because improper installation can lead to costly repairs and reduced lifespan.
Tools and Materials Required for Natural Stone Installation
Before starting the installation, ensure you have:
Essential Tools
- Measuring tape
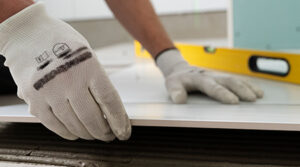
- Leveling tool
- Rubber mallet
- Tile cutter or grinder
Materials
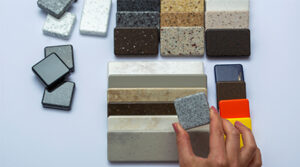
- Marble or granite slabs
- Adhesive or mortar
- Grout and sealant
Step-by-Step Installation Process
Step 1: Surface Preparation
- Clean and level the base surface
- Remove dust, grease, or debris
- Ensure proper curing of the base
Step 2: Dry Layout Planning
- Arrange slabs without adhesive
- Check alignment and pattern
- Make necessary cuts
Step 3: Applying Adhesive
- Spread adhesive evenly using a notched trowel
- Work in small sections
Step 4: Placing the Stone
- Carefully place slabs
- Use a rubber mallet to adjust
- Maintain consistent spacing
Step 5: Leveling and Alignment
- Use a leveling tool
- Adjust height and spacing
Step 6: Grouting
- Fill gaps between slabs
- Remove excess grout
Step 7: Sealing the Surface
- Apply a high-quality sealant
- Allow proper drying time
Common Mistakes to Avoid
- Skipping surface preparation
- Using low-quality adhesive
- Ignoring sealing
- Poor alignment
Marble vs Granite Installation
| Feature | Marble | Granite |
|---|---|---|
| Hardness | Softer | Harder |
| Cutting | Easier | Requires precision tools |
| Maintenance | High | Moderate |
| Installation Complexity | Medium | High |
Maintenance Tips After Installation
- Clean with mild solutions
- Avoid harsh chemicals
- Reseal periodically
When to Hire Professionals
Consider experts if:
- Large-scale installation
- Complex patterns or designs
- High-value materials
Because professional installation ensures precision and reduces risk.
Here is the step by step process: Marmara Service Portfolio
Conclusion
Marble and granite installation is not just about placing stone it’s about precision, planning, and proper technique.
At Marmara Marble and Granite, we don’t just supply stone; we install it right. Every detail is handled with care to ensure strength, flawless finish, and lasting reliability.
When done correctly, it enhances durability, aesthetics, and long-term value.
Invest in the right process to get the best results.
Tejesh Chinthagumpala
Managing Director, Marmara Marble & Granite
With over 10 years of experience in marble and granite processing, Tejesh leads the company with deep industry expertise and a commitment to excellence.
📞 Contact us today to explore our exclusive stone collection:
Phone: +971 6 5575824
Mobile: +971 55 550 5318
Phone: +971 6 5575824
Mobile: +971 55 550 5318
Frequently Asked Questions
Q1. How long does marble or granite installation take?
A: It typically takes 1–3 days depending on the area and complexity.
Q2. Is sealing necessary after installation?
A: Yes, sealing protects the stone from stains and moisture damage.
Q3. Can marble and granite be installed on any surface?
A: No, the surface must be clean, level, and structurally strong.
Q4. Which is better, marble or granite?
A: Granite is more durable, while marble offers a more elegant appearance.
Q5. How often should sealing be done?
A: Every 6–12 months depending on usage and exposure.